Welcome: Mputek (Fuzhou) Co., Ltd


sales@mputek.com
0591-83517896
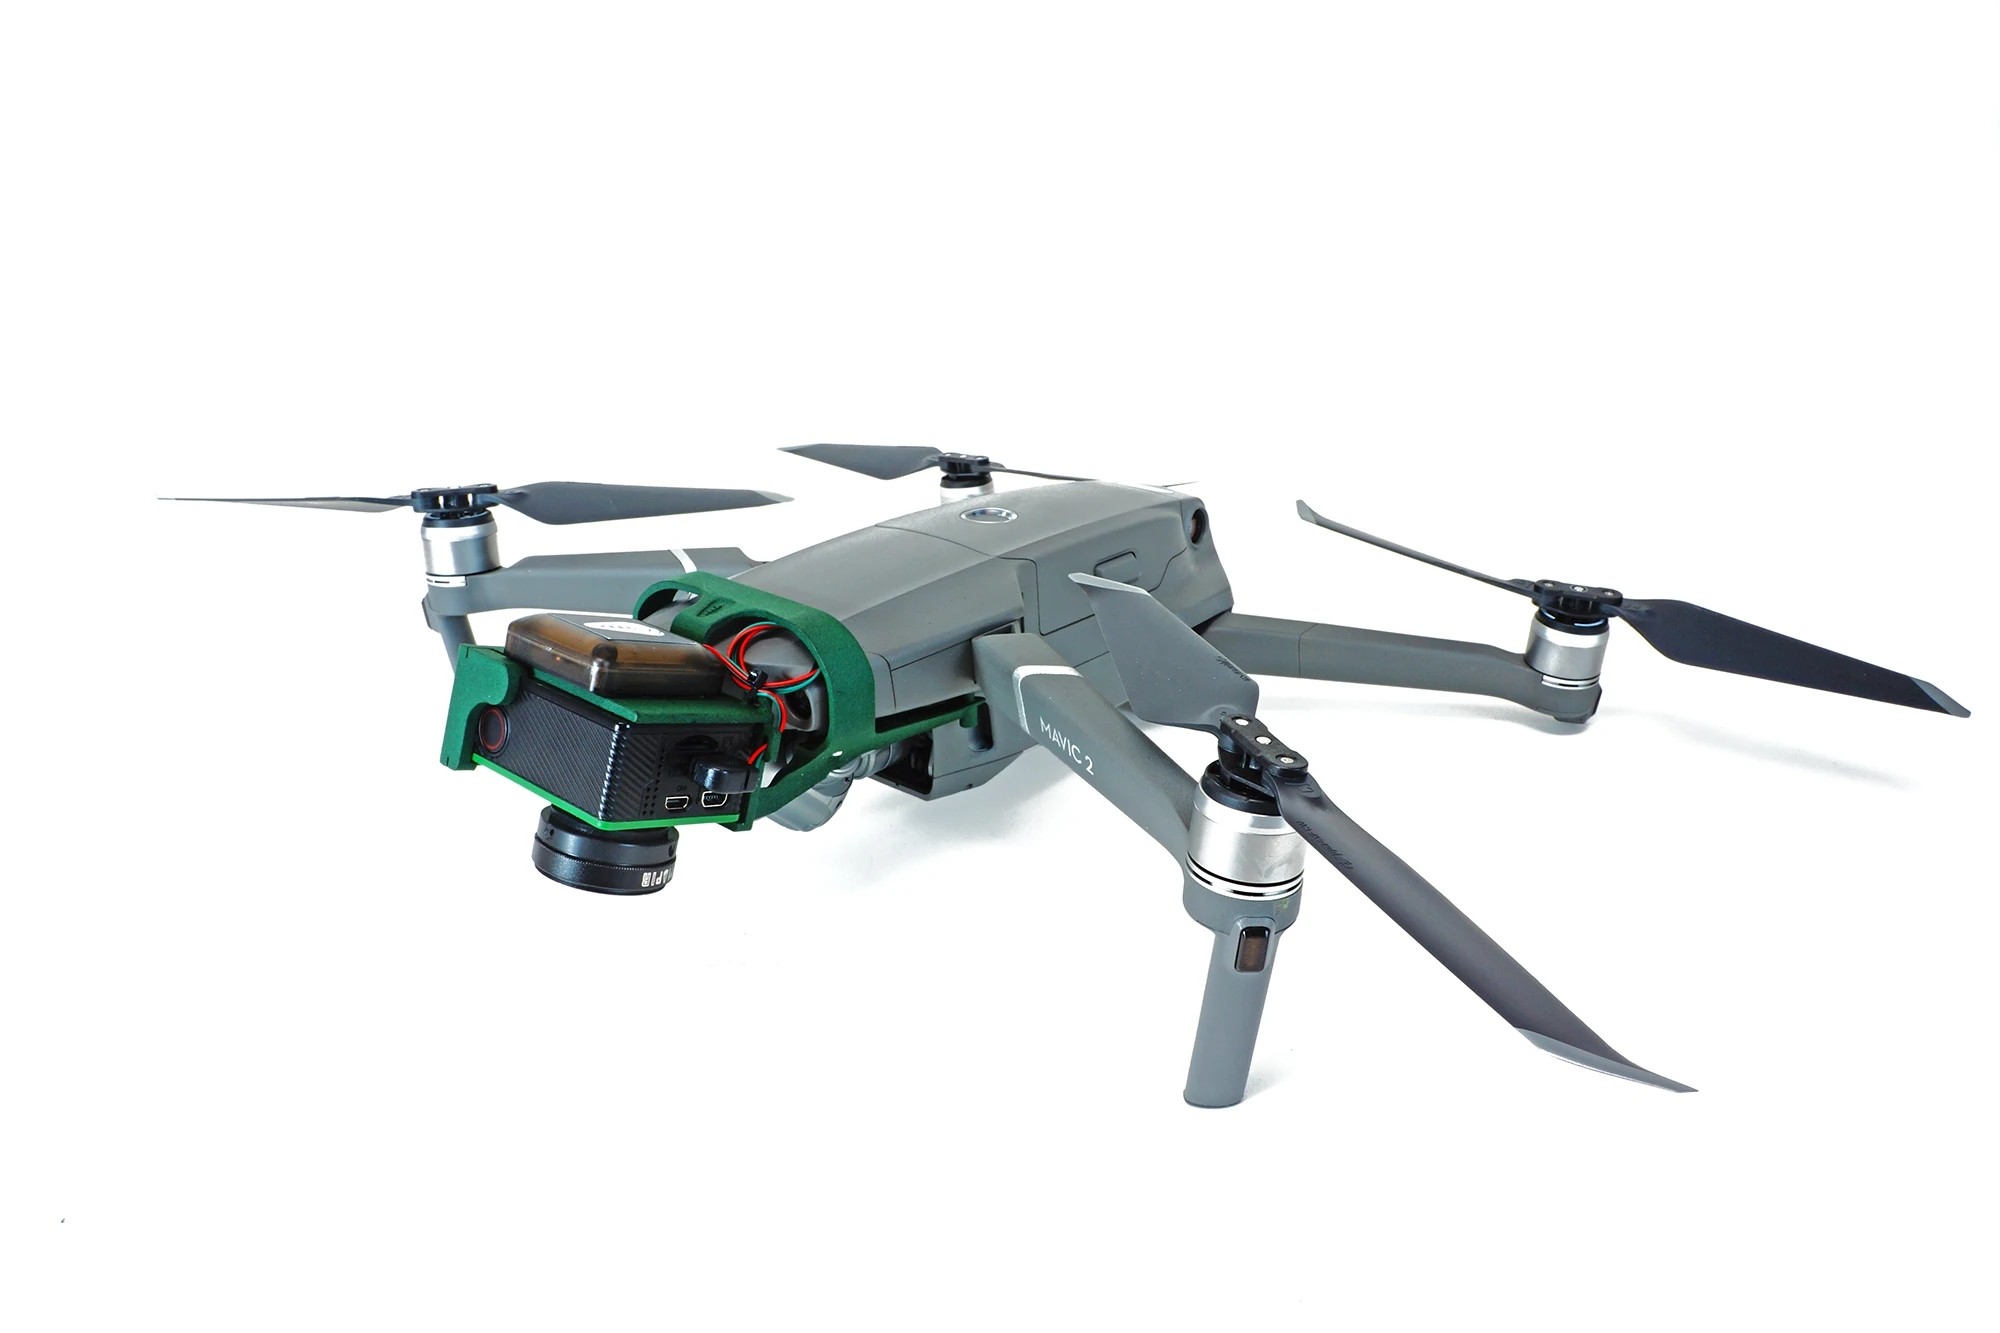
Survey 3 Drone Mount
This mount allows you to easily and securely attach your Survey3 camera to your DJI Mavic2 Pro/Zoom/Enterprise drone while keeping the original drone camera mounted (and out of the way). Simple four-screw installation makes it easy to remove and transport.
While the original RGB camera will work with this mount, you will see the Survey3 camera in part of the image as the camera flies forward. You can still fly if you want, but the mount is designed for use in surveying, with the RGB camera pointed at the ground.
Before use, please make sure to turn off the drone's forward obstacle avoidance setting in the app, because the bracket covers the front camera and may cause abnormal flight characteristics if enabled.
*Please note that due to the very close proximity of the GPS plug on the camera to the front propeller, we only recommend using the advanced version of the GPS receiver on this mount. A standard GPS receiver may still work, but it's not as ideal as an advanced GPS.
*Please note that the DJI clear plastic cover for the Mavic 2 Pro camera is not compatible with our Mavic 2 mount.
packing list:
(1) Durable and lightweight plastic camera mount
(1) Black plastic bolt for attaching the camera to the mount
(2) Extended Mavic2 front drone screws (replace existing DJI screws) (additional purchase is recommended)
(2) Extended Mavic2 rear drone screws (replacing the existing DJI screws) (recommended to purchase additionally)
(1) GPS cable tie
Weight (camera + GPS + mount): 125.5 grams
Installation Guide:
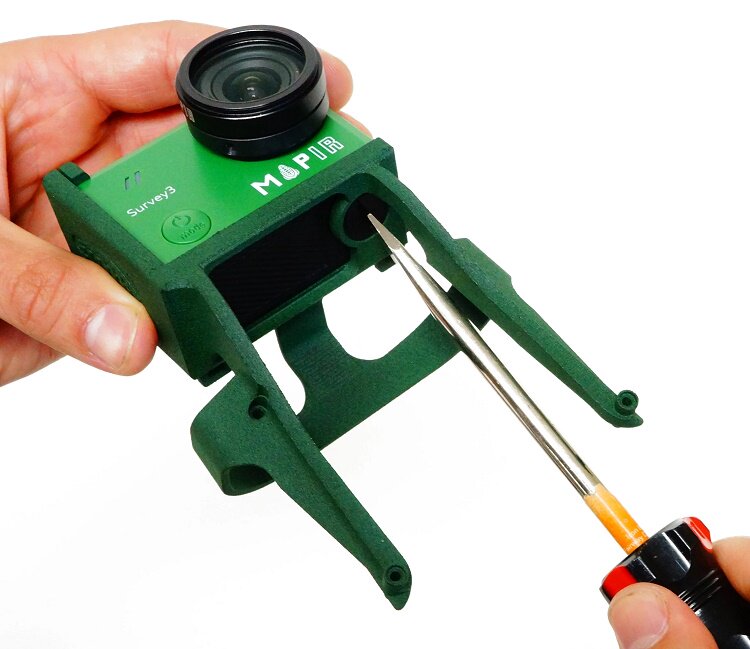
Step 1: Make sure the camera is in the default interval timer capture mode. Slide the camera (with battery) into the mount to mount the camera. Use the included black plastic camera bolt in the camera's tripod mount hole to secure the camera.
Step 2: Use the (not included) 1.5mm hex tool to unscrew the original DJI screws at the 4 locations marked below:

Step 3.1: Place the base as shown and tighten the four screws that came with the base. The black screws are at the back (blue locations marked above), and the silver screws are at the front (red locations marked above). The pegs in the screw holes will snap into place slightly.

Step 3.2: Peel off the red adhesive backing on the bottom of the GPS receiver and stick it to the top of the mount (with the corn logo pointing forward) so that the GPS is as centered as possible with the drone. The adhesive is very strong and is usually used once. If replacement is required, 3M VHB Scotch Tape or similar should be used if possible. The cable coming from the back of the GPS should be bent up 90 degrees, straight up against the mount.

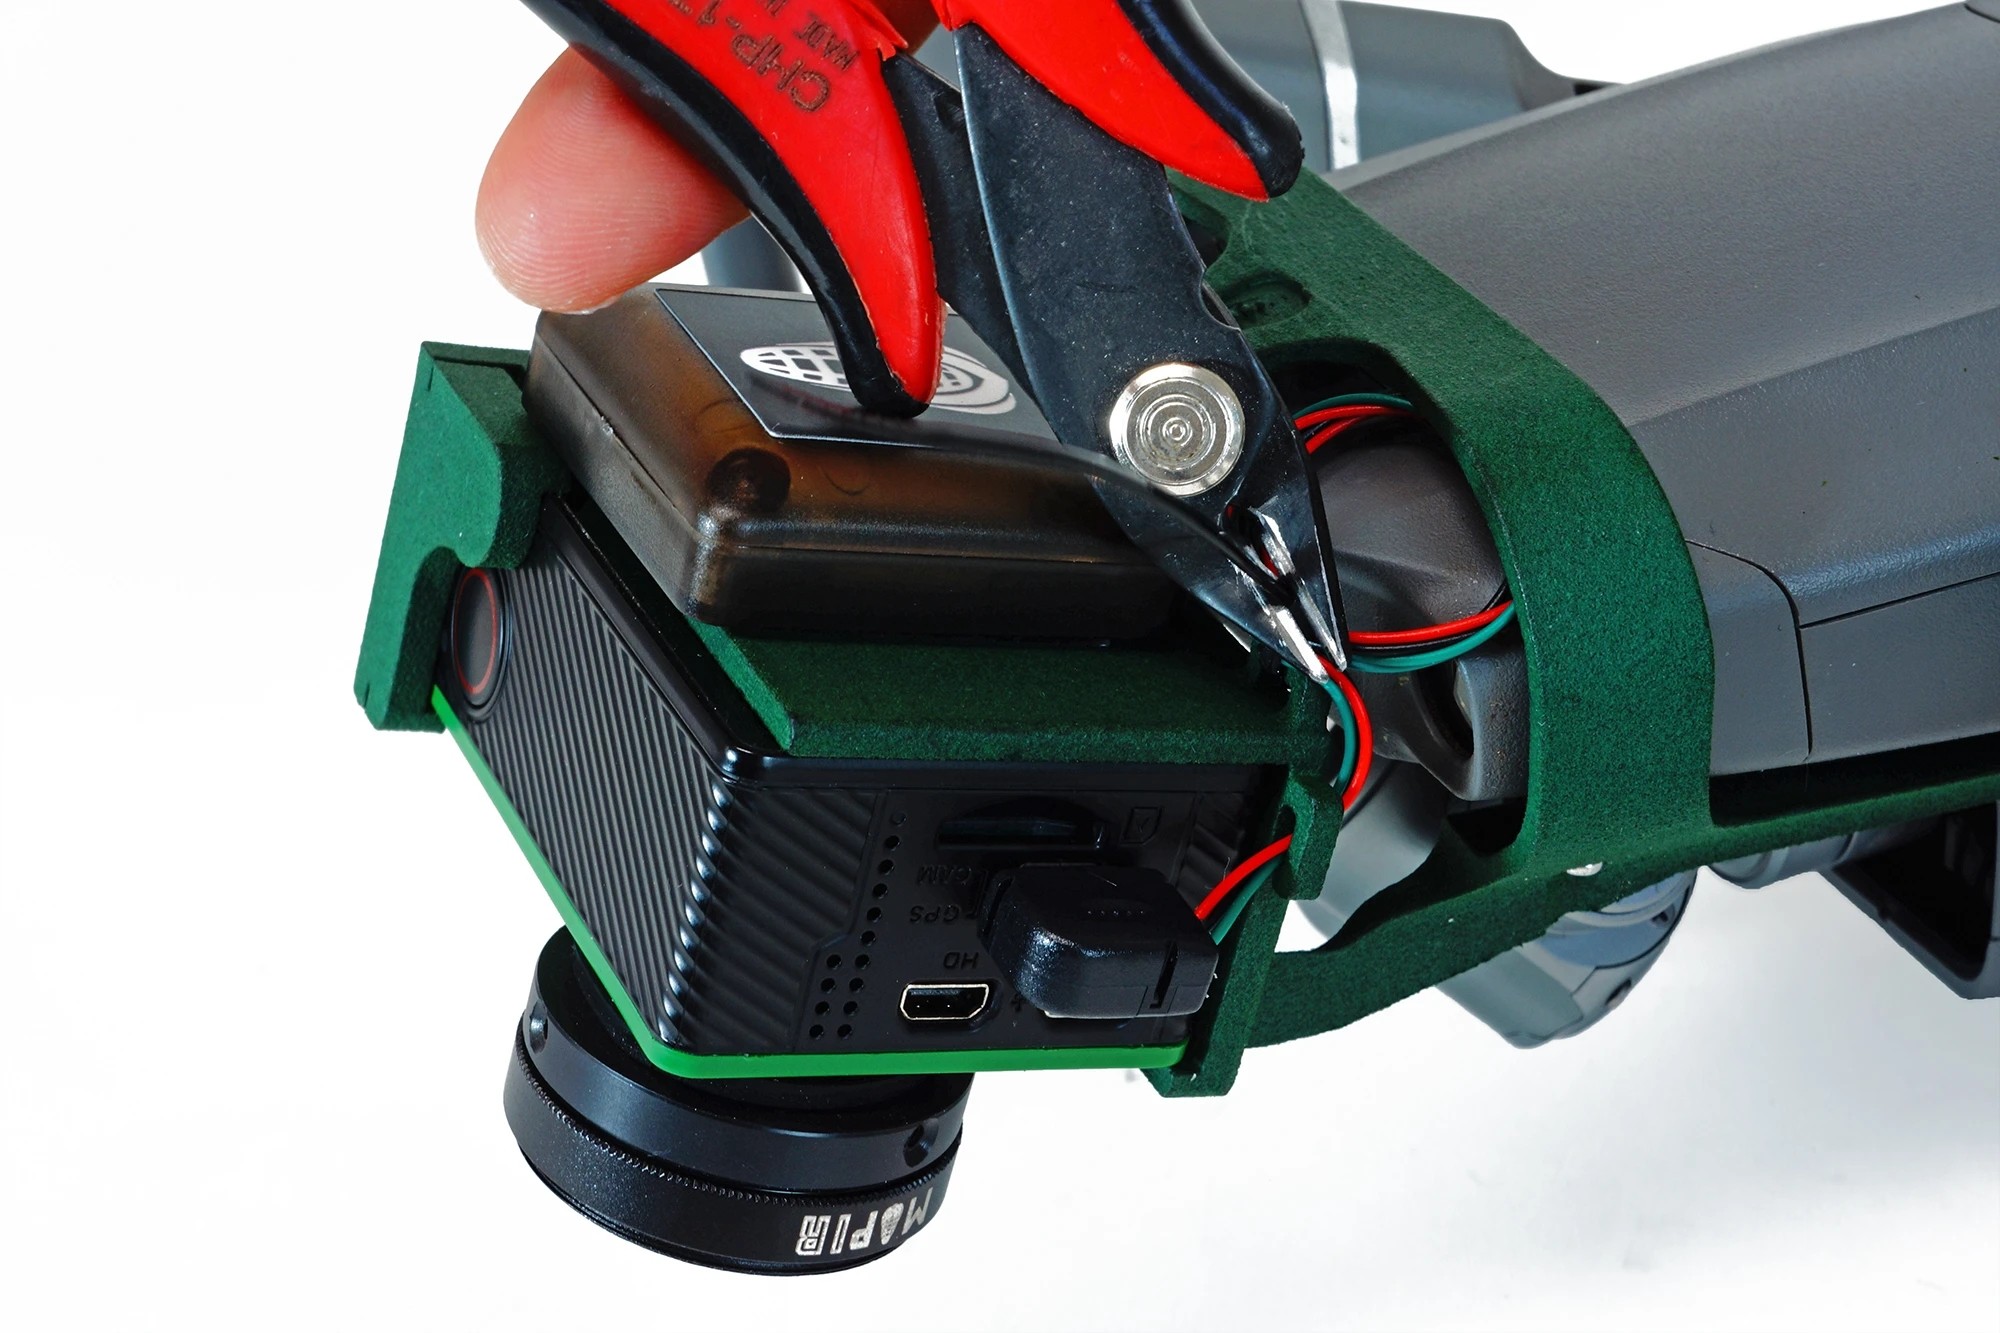
Step 4: Insert the GPS USB plug into the GPS port on the camera closest to the SD card slot. Loop the GPS wire twice as shown:

Step 5: Use the included zip ties (wire ties) to loosely secure the GPS coiled cable to the green plastic cable loop in the top corner of the base. Do not tighten completely.

Step 6: Push the GPS Wire Under the Top of the Base. Extend the loop as needed so the wires don't come out of the mount. Thread the wires through the clips on the side of the mount. Once the wires are properly positioned, tighten the cable tie. Cut off the ends of the zip ties.
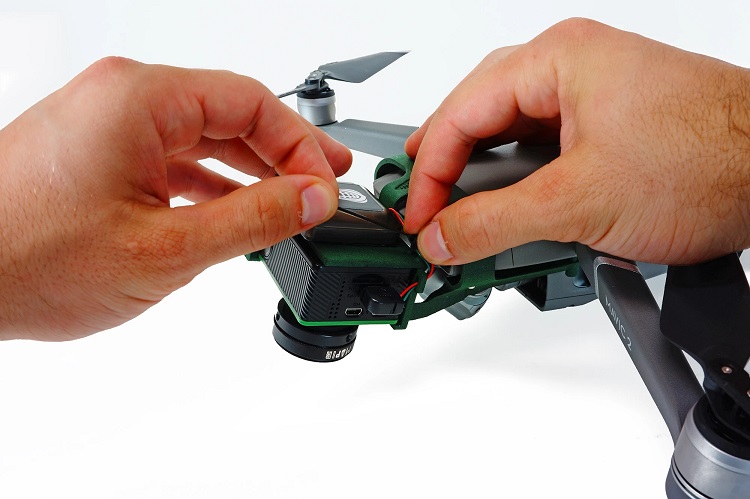
Step 7: Your camera, GPS and mount are now installed. Have a nice flight.
Contact: Sam Lan
Phone: 13358250301
E-mail: sales@mputek.com
Whatsapp:+8613358250301
Add: 4th Floor,No.43,Section C,Software Park,Fuzhou,350003
We chat