Welcome: Mputek (Fuzhou) Co., Ltd


sales@mputek.com
0591-83517896

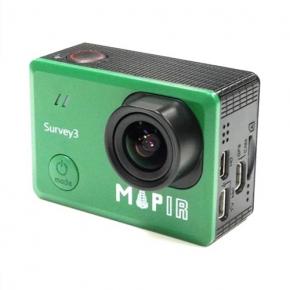
Python script to control Survey3 using a Raspberry Pi computer
PWM control from RasPi
Python script to control Survey3 using a Raspberry Pi computer
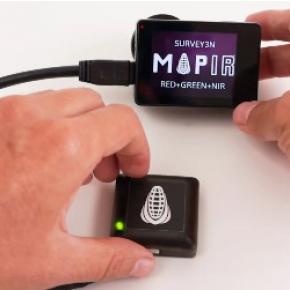
Using our HDMI PWM Trigger Cable, you can send PWM commands to the Survey3 camera to perform some actions.
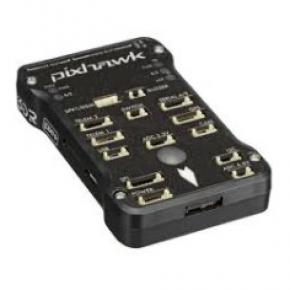
Raspberry Pi Setup
Connect the HDMI cable to the camera and the single servo connector to the corresponding GPIO pin on the RasPi GPIO header as follows:
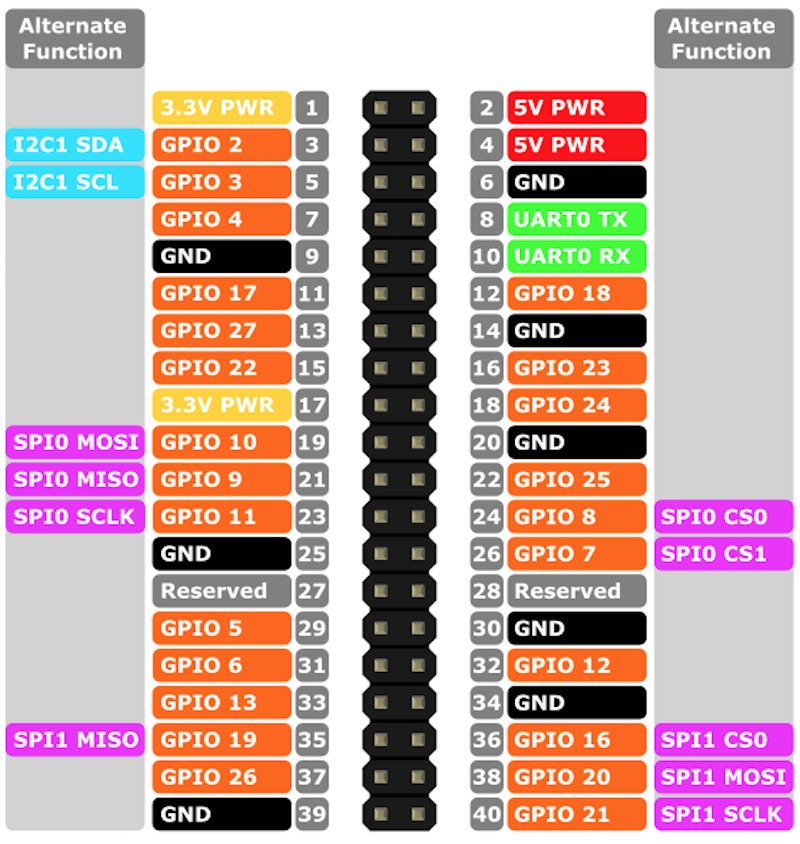
Pin diagram for GPIO header on RASPI
For the code example below, we are connecting the white signal connector to pin 12 (GPIO18) and the black ground connector to pin 14.
We also connected the included Survey3 USB cable to one of the RasPi USB ports. You can leave it disconnected if you don't need to mount/unmount the SD card or use USB to power the camera.
If the RasPi won't boot and the USB cable is connected, it may be drawing too much current to charge the internal camera battery. We recommend taking the camera batteries out, then when the USB cable powers up, it will automatically turn on the camera.
The desired PWM signal needs to always send a "do nothing" pulse width. Then, only change the pulse width when we want to execute a specific command. It only needs one pulse of longer width to execute each command.
Pulse Width Modulation Instructions:
1000us: do nothing
1500us: Mount/unmount uSD memory card (in Survey3 camera)
2000us: trigger to take pictures
Send a 1500us command once to unmount (in software) the uSD memory card inside the camera, then mount to a connected USB computer (RasPi), then send another 1500us to mount the uSD back into the camera. This is often used to transfer captured photos to the RasPi or to post-process images.
When the uSD is detached from the camera, it cannot save newly captured images. To view images while installing, you need a WIFI connection and the corresponding url command.
PWM code:
To send a PWM signal you need to always send a 1000us "no operation" pulse width, then when you want to execute a command you need to send a momentary 1500us or 2000us width pulse.
pin = 18 #set (BCM) GPIO pin to send GPIO.HIGH pulse
GPIO.setmode(GPIO.BCM)
GPIO.setup(pin, GPIO.OUT)
time.sleep(0.001) #1000us pulse width (do nothing)
GPIO.cleanup()
time.sleep(0.1)
GPIO.setmode(GPIO.BCM)
GPIO.setup(pin, GPIO.OUT)
GPIO.output(pin, GPIO.HIGH)
time.sleep(0.002) #2000us pulse width
GPIO.cleanup()
time.sleep(0.1)
GPIO.setmode(GPIO.BCM)
GPIO.setup(pin, GPIO.OUT)
time.sleep(0.001) #1000us pulse width (do nothing)
GPIO.cleanup()
The above code sets PWM to no-op for 1000us, then sends 2000us trigger command to take a photo, then returns to send no-op for 1000us. The fastest 2000us commands should be sent about every 1.5 seconds because the camera cannot capture JPG images faster than 1.5 seconds. For RAW+JPG mode, we recommend a wait time of 2.5-3.0 seconds.
The code can be set to loop until the user exits (CTRL+Z), triggering the capture command every 1.5 seconds:
import RPi.GPIO as GPIO
import time
GPIO.setwarnings(False)
pin = 18 #set (BCM) GPIO pin to send GPIO.HIGH pulse
try:
while True:
print("Command Sent\n")
GPIO.setmode(GPIO.BCM)
GPIO.setup(pin, GPIO.OUT)
GPIO.output(pin, GPIO.HIGH)
time.sleep(0.002) #2000us pulse width
GPIO.cleanup()
time.sleep(0.1)
GPIO.setmode(GPIO.BCM)
GPIO.setup(pin, GPIO.OUT)
time.sleep(0.001) #1000us pulse width (do nothing)
GPIO.cleanup()
time.sleep(1.5) #time delay between GPIO.HIGH pulses, >1.5s recommended
#to exit type CTRL+Z
except KeyboardInterrupt:
pass
binary
You can also set it to accept user keyboard input:
import RPi.GPIO as GPIO
import time
GPIO.setwarnings(False)
pin = 18 #set (BCM) GPIO pin to send GPIO.HIGH pulse
GPIO.setmode(GPIO.BCM)
GPIO.setup(pin, GPIO.OUT)
time.sleep(0.001)
GPIO.cleanup()
print("\nCommands:")
print("t + Enter: Trigger (2000us)")
print("s + Enter: SD Card Mount/Unmount (1500us)")
print("e + Enter: Exit\n")
while True:
key = input(">")
if key == "t":
GPIO.setmode(GPIO.BCM)
GPIO.setup(pin, GPIO.OUT)
GPIO.output(pin, GPIO.HIGH)
time.sleep(0.002)
GPIO.cleanup()
time.sleep(0.1)
print("Trigger")
GPIO.setmode(GPIO.BCM)
GPIO.setup(pin, GPIO.OUT)
time.sleep(0.001)
GPIO.cleanup()
if key == "s":
GPIO.setmode(GPIO.BCM)
GPIO.setup(pin, GPIO.OUT)
GPIO.output(pin, GPIO.HIGH)
time.sleep(0.0015)
GPIO.cleanup()
time.sleep(0.1)
print("SD Mount/UnMount")
GPIO.setmode(GPIO.BCM)
GPIO.setup(pin, GPIO.OUT)
time.sleep(0.001)
GPIO.cleanup()
if key == "e":
print("Exiting\n")
break
else:
GPIO.setmode(GPIO.BCM)
GPIO.setup(pin, GPIO.OUT)
time.sleep(0.001)
GPIO.cleanup()
binary
The code above allows you to type the letter "t", press "Enter" and it will take a picture. You can type "s + Enter" and it will unmount the uSD card from the camera, and the RasPi will show it as a removable drive. Typing "s + Enter" again will unmount from the RasPi and mount the uSD back into the camera.
Contact: Sam Lan
Phone: 13358250301
E-mail: sales@mputek.com
Whatsapp:+8613358250301
Add: 4th Floor,No.43,Section C,Software Park,Fuzhou,350003
We chat